
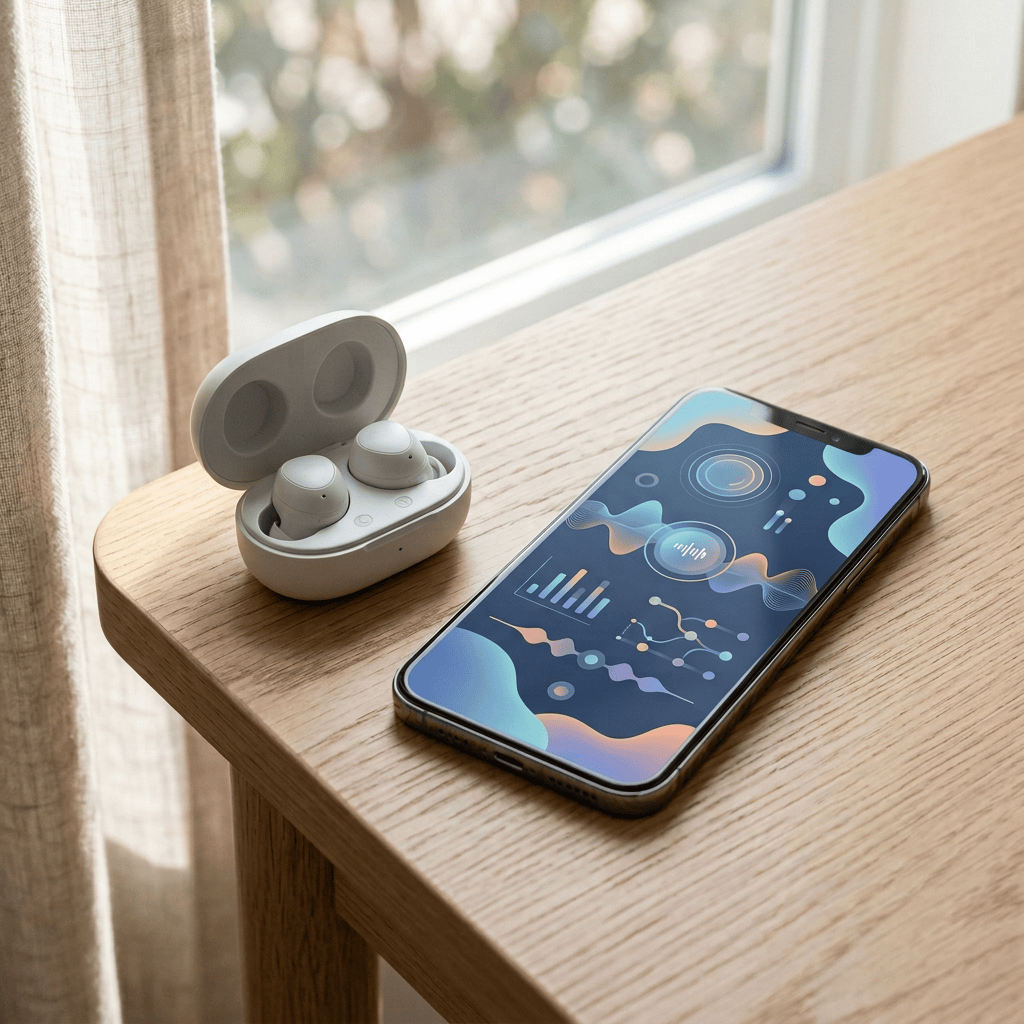
AirPods Pro 2 and AirPods Pro 3 can test your hearing, translate a conversation in real time, and point you straight to a lost charging case. Most owners use them for play, pause, and noise cancellation and never open the settings screen where the rest of it lives. Here are eleven features built into current AirPods Pro models, checked against Apple’s own documentation, with the exact steps to turn each one on.
The Hearing Health Suite Hiding in Settings
Apple spent three years building AirPods Pro 2 and AirPods Pro 3 into something closer to a medical device than a pair of earbuds. In September 2024, the FDA authorized the Hearing Aid software feature as the first over the counter hearing aid of its kind, and the whole suite now runs on a five minute test you can take on your couch.
1. Take the Hearing Test
This is the gateway to everything else in this section. Apple built it around pure tone audiometry, the same method audiologists use in a clinic, and it produces a real audiogram you can export as a PDF.
- Sit in a quiet room. Background noise pauses the test, so pick a moment when the house is calm.
- Wear your AirPods and open Settings. Tap the name of your AirPods near the top of the screen.
- Tap Take a Hearing Test. Follow the prompts. The test runs about five minutes and asks you to tap the screen every time you hear a tone.
- Review your results. You will see a hearing loss classification and, if needed, a recommendation to try Media Assist or the Hearing Aid feature.
Full navigation and troubleshooting steps are in Apple’s official Hearing Test guide.
2. Turn On Hearing Aid, If You Are Eligible
If your test suggests mild to moderate hearing loss, AirPods Pro can amplify speech and everyday sound to your specific profile, then apply that same profile to calls, music, and video.
- Open Settings and tap your AirPods. Tap Hearing Assistance, then tap Set Up Hearing Assistance.
- Choose a test result. Use your recent Hearing Test, or add an audiogram from your own audiologist.
- Tap Set Up Hearing Aid, then Turn On Hearing Aid. Some results will point you toward Media Assist instead, which sharpens sound without full amplification.
- Fine-tune over time. Adjust amplification, left-right balance, and tone from Settings, the Health app, or Control Center. Small changes work better than big ones while you adjust.
The Hearing Aid setup guide covers this in full, including how Conversation Boost sharpens the voice of whoever is in front of you.
3. Confirm Hearing Protection Is Actually Doing Its Job
This one is already running for most people, which is exactly why it gets overlooked. Hearing Protection is on by default across Noise Cancellation, Transparency, and Adaptive Audio, and it lowers harsh environmental sound at up to 48,000 times a second without touching the music itself.
- Check that it is not accidentally off. Go to Settings, then Accessibility, then AirPods, select your AirPods, and confirm Loud Sound Reduction is on.
- Get a proper seal. Protection only works at full strength when your ear tips fit correctly, which is where feature 9 below comes in.
- AirPods Pro 3 owners in EN 352 regions can also set up EN 352 Protection from the Hearing Protection menu, which caps media at 82 dBA to meet that workplace hearing protection standard.
Apple’s Hearing Protection support page has the full breakdown by listening mode. As of mid-2026, the Hearing Test and Hearing Aid features have rolled out to more than 100 countries and regions, though availability still depends on local regulatory approval, so check your region before assuming it works out of the box.
Smart Listening Features Running Quietly in the Background
These three work together and none of them require you to do anything mid conversation. They just need to be switched on once.
4. Conversation Awareness
When you start talking, AirPods Pro automatically lowers your media volume, boosts the voice in front of you, and dials down background noise. When you stop, it fades back to where you left off.
- Wear your AirPods and connect them to your device.
- Open Control Center and touch and hold the volume control.
- Tap Conversation Awareness to turn it on.
To end a conversation manually, press and hold the stem. Apple documents the full behavior in its listening mode settings guide.
5. Personalized Volume
This one learns. It tracks your environment and your own volume adjustments over time, then fine-tunes media volume so you stop reaching for the slider every time you walk from a quiet room into traffic.
- Go to Settings, then Bluetooth.
- Tap the info button next to your connected AirPods.
- Turn on Personalized Volume.
6. Custom Adaptive Audio
Adaptive Audio blends Noise Cancellation and Transparency automatically, but most people never touch the slider that controls how much outside noise gets through.
- With your AirPods connected, open Settings and tap your AirPods.
- Tap Adaptive Audio.
- Drag the slider toward more or less ambient noise, depending on whether you want more isolation or more awareness of your surroundings.
Steps for iPhone, iPad, and Mac are in Apple’s Adaptive Audio guide.
Making Calls and Conversations Clearer
7. Voice Isolation for Calls
Voice Isolation uses on-device processing to prioritize your voice and strip out wind, traffic, and crowd noise on the other end of the call. It is separate from noise cancellation, which only affects what you hear.
- Start a call using the Phone, FaceTime, or a supported third-party app.
- Open Control Center and tap Mic Mode.
- Select Voice Isolation.
Your choice applies only to the app you are using and stays selected until you change it. Full device compatibility is listed in Apple’s Mic Mode support article.
8. Live Translation
New with AirPods Pro 3 and extended to AirPods Pro 2, Live Translation listens to a conversation in another language and speaks the translation into your ear, while the transcript shows up on your iPhone.
- Check your hardware. You need AirPods Pro 2, AirPods Pro 3, or AirPods 4 (ANC), paired with an iPhone 15 Pro or later running the latest iOS with Apple Intelligence turned on.
- Download your languages. Go to Settings, tap your AirPods, tap Languages under Translation, and download the language the other person speaks along with your own.
- Open the Translate app and tap Live. Choose their language and yours.
- Start the session. Press and hold the stem on both AirPods at once, or say “Hey Siri, start Live Translation.”
Everything processes on your iPhone once the language files are downloaded, so your conversation data stays on the device. It is not available in every region, including mainland China, so check Apple’s Live Translation support page before you count on it for an upcoming trip.
Fit, Controls, and Not Losing Them
9. Ear Tip Fit Test or Acoustic Seal Test
Almost every feature above depends on a proper seal. Loose ear tips quietly wreck your noise cancellation, your bass, and your hearing protection numbers, and most people never run the test that catches it.
- Wear your AirPods Pro and connect them to your iPhone or iPad.
- Go to Settings, then Bluetooth, and tap the info button next to your AirPods.
- Tap Ear Tip Fit Test on AirPods Pro 1 or 2, or Acoustic Seal Test on AirPods Pro 3.
- Follow the short audio test for each ear, and switch ear tip sizes if either side fails.
Details on sizing and getting a proper seal are in Apple’s ear tip guide.
10. Rewire the Press-and-Hold Gesture
By default, pressing and holding the stem cycles through Noise Cancellation and Transparency. You can change what each stem does, and separately adjust how long a press needs to last before it registers.
- Open Settings and tap your AirPods.
- Under Press and Hold AirPods, tap Left or Right.
- Choose Siri, or select which listening modes that stem should cycle through.
- For press timing, go to Accessibility, then AirPods, and adjust Press Speed and Press and Hold Duration if double taps feel too fast or too slow to register.
The full control map, including press once, press twice, and triple press actions, is in Apple’s settings guide for AirPods and AirPods Pro.
11. Precision Finding and Separation Alerts
The AirPods Pro 2 case added a U1 chip purely so the case itself could be tracked, not just the earbuds. AirPods Pro 3 upgraded that to a U2 chip for roughly 1.5 times the range.
- Set up separation alerts first. Open the Find My app, tap Devices, tap your AirPods, then turn on Notify When Left Behind. Add trusted locations like home or your desk so you are not pinged every time you leave your AirPods on the kitchen counter.
- Use Precision Finding when they are nearby. Open Find My, tap Devices, select your AirPods, then tap Find. You will see a directional arrow and an approximate distance if your iPhone supports it.
Note that Precision Finding needs a U1-equipped iPhone, meaning iPhone 11 or later, and the fastest, longest-range version of the feature on AirPods Pro 3 currently requires an iPhone 17. Setup steps are in Apple’s Find your AirPods guide and its separation alerts guide.
Quick Compatibility Check
| Feature | AirPods Pro 2 | AirPods Pro 3 | Where to find it |
|---|---|---|---|
| Hearing Test, Hearing Aid, Hearing Protection | Yes | Yes | Settings > your AirPods |
| Conversation Awareness, Personalized Volume | Yes | Yes | Control Center or Settings > your AirPods |
| Voice Isolation | Yes | Yes | Control Center > Mic Mode, during a call |
| Live Translation | Yes, with iPhone 15 Pro or later | Yes, with iPhone 15 Pro or later | Translate app |
| Ear Tip Fit Test | Yes (called Ear Tip Fit Test) | Yes (called Acoustic Seal Test) | Settings > Bluetooth > info button |
| Precision Finding | Yes, U1 chip, iPhone 11 or later | Yes, U2 chip, full speed needs iPhone 17 | Find My app |
Honest Limitations
- Region gates several of these features. Hearing Test, Hearing Aid, and Live Translation all depend on local regulatory approval or language support. A feature working in the United States does not guarantee it works where you live yet.
- Older hardware misses out. Live Translation needs an iPhone 15 Pro or later, and the full range of the upgraded Precision Finding on AirPods Pro 3 needs an iPhone 17. AirPods Pro 1 supports none of the hearing health or translation features at all.
- Hearing Aid is not a substitute for clinical care. It is built for perceived mild to moderate hearing loss in adults 18 and older. Anyone with sudden hearing changes or suspected severe loss should still see a hearing healthcare professional.
- None of this fixes a bad seal. If you skip the ear tip test, noise cancellation, hearing protection, and even the heart rate sensor on AirPods Pro 3 will all underperform, and it will look like a software problem when it is really a fit problem.
Your AirPods Pro have been doing more than you asked them to this whole time. Go turn the rest of it on, and send this to whoever you know is still just pressing play and pause.
Sources
- FDA Authorizes First Over-the-Counter Hearing Aid Software, U.S. Food and Drug Administration, September 2024
- Take a Hearing Test with AirPods Pro 2 or AirPods Pro 3, Apple Support
- Use the Hearing Aid Feature on Your AirPods Pro 2 or AirPods Pro 3, Apple Support
- Use Hearing Protection with Your AirPods Pro 2 or AirPods Pro 3, Apple Support
- Apple Watch Hypertension Alerts and AirPods Hearing Aid Feature Expand to More Countries, MacRumors, May 2026
- Adjust Listening Mode Settings on AirPods, Apple Support
- Use Adaptive Audio with Your AirPods, Apple Support
- Use Voice Isolation, Wide Spectrum, or Automatic Mic Mode, Apple Support
- Use Live Translation with Your AirPods, Apple Support
- Introducing AirPods Pro 3, Apple Newsroom, September 2025
- Choose Your AirPods Pro Ear Tips, Apple Support
- Change Settings for AirPods or AirPods Pro, Apple Support
- Find Your AirPods, Apple Support
- Get Separation Alerts If You Leave Your AirPods Behind, Apple Support
- How to Use Precision Finding to Locate AirPods Pro With Your iPhone, MacRumors
- Yet Another AirPods Pro 3 Feature Doesn’t Work With Older iPhones, Notebookcheck


Leave a Reply